
Ever tried a DAS (Direct-Attached Storage) device?
Unlike NAS, where you have a bunch of hard drives available over network, DAS is directly connected to your computer.
I never used such a product because I never had the need. But then Orico sent me there new DAS 88 Series 4-Bay USB4 NVMe SSD Enclosure and I got the opportunity to use a DAS for the first time ever.
Sharing my experience and some benchmarking test that I did for the first time in several years.
Orico 8848U4 DAS Specification
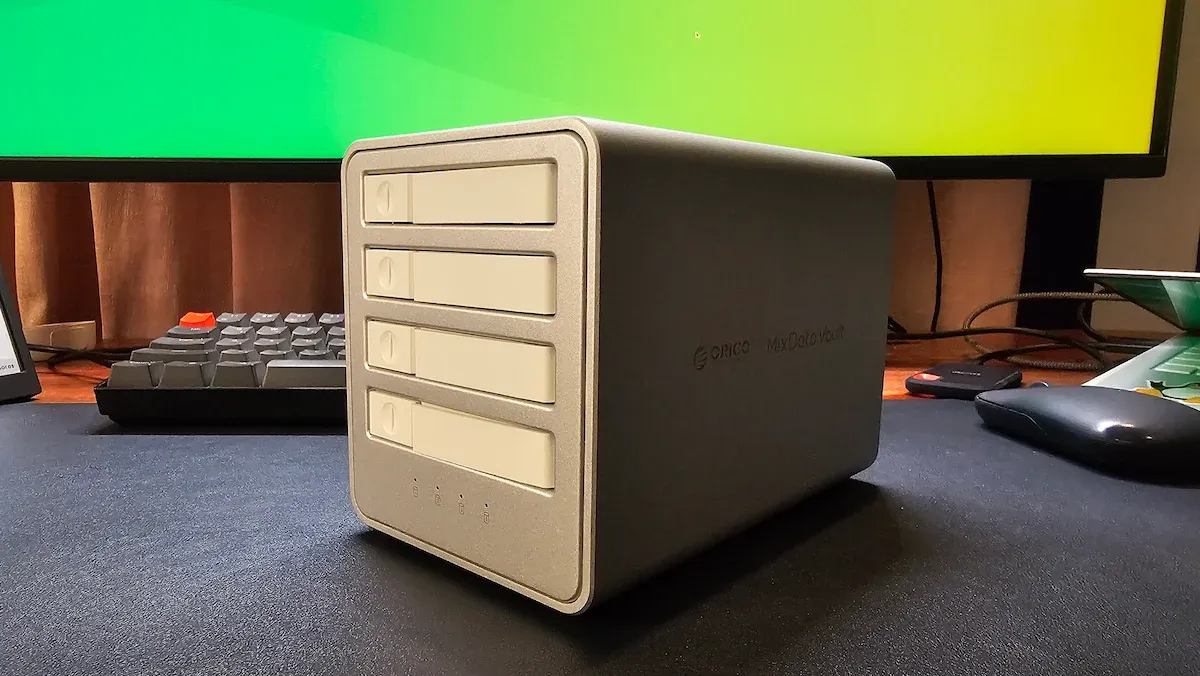
Here’s the quick hardware specifications for Orico 8848U DAS:
| Spec | Details |
|---|---|
| Model | 8848U4 USB4 |
| Drive Bays | 4 x M.2 NVMe (2230, 2242, 2260, 2280) |
| Interface | USB4 (40Gbps in total) |
| RAID Support | None |
| Max Capacity | 8TB per bay / 32TB total |
| Cooling | Aluminum body + built-in fan |
| Power | 12V/3A external adapter |
| Expansion Ports | None |
| Dimensions | 167 x 101 x 119.5 mm |
| OS Support | Windows, macOS, Linux |
Do note that there is also a SATA version of DAS in the same 88 Series lineup. It is older, bigger and has a RAID mode. The version I tested is M.2 NVMe SSD only and without built-in RAID functionality. That’s intentional to give you the raw NVMe speed in a compact form factor.
Do note that this is a diskless enclosure. You bring your own M.2 NVMe drives. You cannot expect to get enclosures with SSD disks for under $200 in this age of AI slop.
Build Quality And Design
The first thing I noticed is how good this thing looks. The CNC-machined aluminum body has a silver finish that would blend right into a Mac-heavy studio desk. I am a Linux person, not an Apple person, but I will admit the build quality is quite impressive. Feels solid. My Terramaster NAS also has silver-gray aluminium chasis but this one is more “Mac looking.”
All the ports and controls are on the back. There is a USB4 Type-C port, 12V DC power input, a dedicated power button, and a cooling fan.
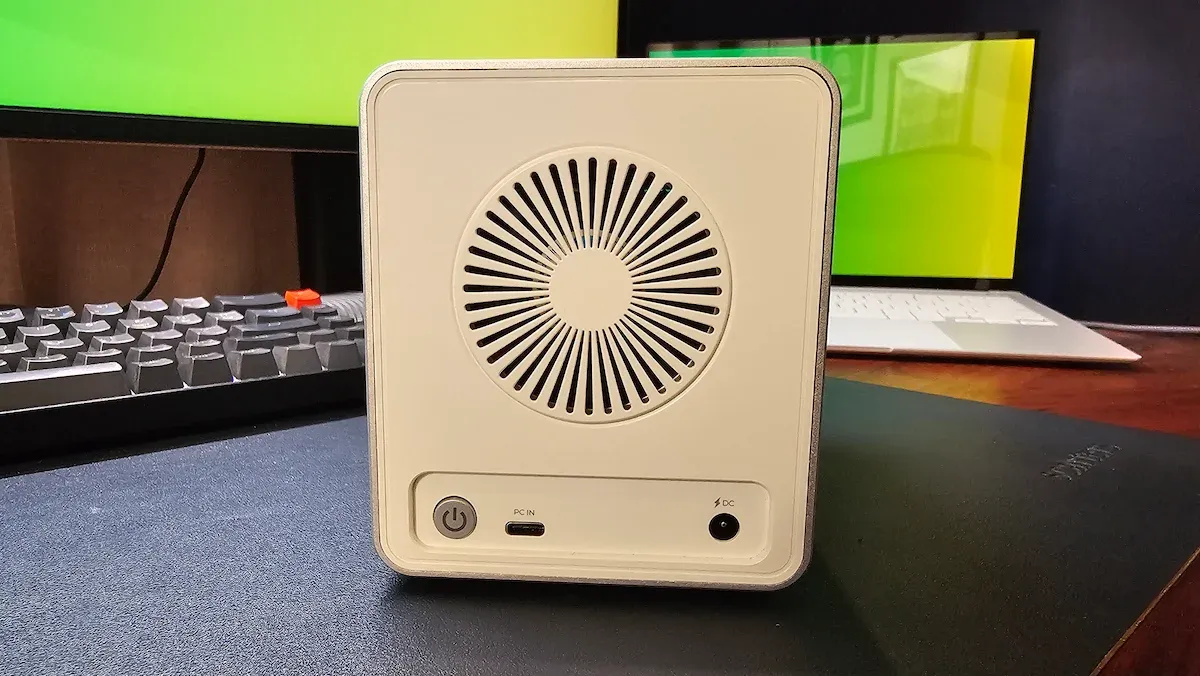
The power button being on the back is a minor annoyance if the enclosure is tucked away. Worth planning your desk layout around it. The power button glows when pressed but difficult to look at it in the back.
The front has disk bay access with a slider button. It’s a little bit stiff but not worth complaining about. The disk bay can host M.2 NVMe SSDs of various sizes. I only tested it with 2280 but guess that doesn’t really matter.
The front also has 4 indicators at the bottom. They glow blue when the DAS is attached to a running computer.
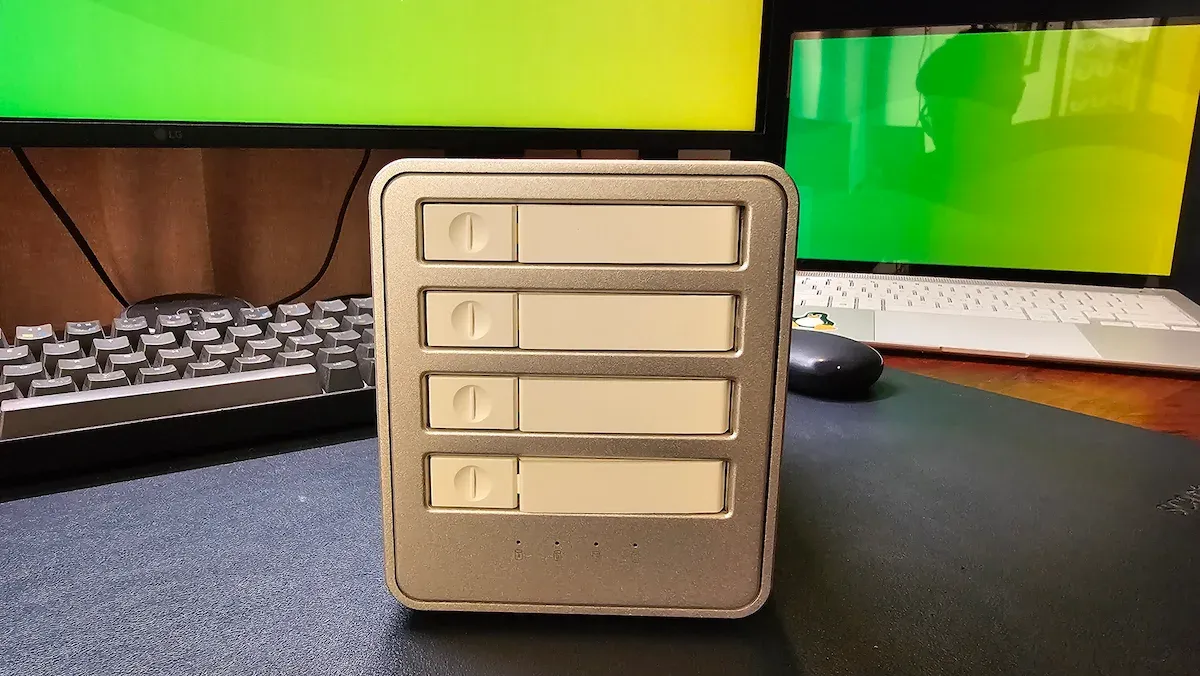
Sides has nothing, just minimal branding.
The fan is there for active cooling, and ORICO claims it operates under 30dB. In my testing, the device felt completely silent. The fan does start running as soon as power is turned on but there is no audible noise unless you put your ear near the fan vent.
There is no fan speed control that I could find, which is a small omission. It would be nice to have a quiet mode toggle, but in practice it’s a non-issue.
Keep in mind that the enclosure has no passthrough port. There is a single USB4 connection and that’s about it. If you need to daisy-chain other Thunderbolt peripherals, this will consume your only port. On a laptop with limited Thunderbolt ports, this is something worth thinking about before buying.
Linux Compatibility
I noticed that the drive appeared as a native NVMe device. This means that each drive in the enclosure shows up as a separate NVMe namespace (nvme1p1, nvme1p2 etc) under a single controller.
$ cat /sys/class/nvme/nvme1/transport
pcie                             #output
And this detail matters because it means that the Thunderbolt PCIe tunneling is working correctly. The OS treats these drives as if they are plugged directly into the motherboard’s PCIe bus, not as USB devices. My Sandisk external SSD comes up under /dev/sda that means it’s treated as USB.
Performance Testing
I tested with a Crucial CT500P3PSSD8 (P3 Plus 500GB NVMe) installed in one bay. I only had one drive available for testing. Rest of them were being used in ZimaCube and Terramaster NAS. I have to buy new NVMe SSDs but the prices are not coming down. I ran benchmarks using fio and hdparm, and also timed some real-world file transfers.
Understanding The “40Gbps” Claim
It is easy to get excited with numbers but let’s analyze the numbers. ORICO itself clarifies this in the product page: each drive achieves up to 10Gbps when all four bays are operating simultaneously. The 40Gbps is the total aggregate across all four drives. A single bay doesn’t get 40Gbps.
In practice, even that 10Gbps per drive is rare achievement. Thunderbolt 4 tunnels PCIe 3.0 x4, which gives around 3500 MB/s of usable bandwidth total. Divided across four bays, each drive gets roughly 800-900 MB/s of real-world headroom. Mind the difference between bits and bytes.
My single-drive benchmarks came almost there, which indicates that the enclosure is performing exactly as it should. If I had 3 more spare SSDs, I would have tested the full 40Gbps claim.
Benchmark Results (ext4)
I tested with two filesystem configurations. The reliable numbers come from the ext4 run, where direct I/O (O_DIRECT) was fully confirmed working with no cache assistance.
| Test | Result |
|---|---|
| Sequential Read | 729 MB/s |
| Sequential Write | 669 MB/s |
| Random 4K Read | 71 MiB/s / 18.2k IOPS |
| Random 4K Write | 103 MB/s / 26.3k IOPS |
| Raw device read (hdparm) | 763 MB/s |
Sequential read at 729 MB/s and sequential write at 669 MB/s are pretty good numbers. Pretty close to the numbers I discussed earlier. That’s the advantage of using NVMe over a PCIe tunnel.
NTFS vs ext4
Since the Crucial drive I installed was previously formatted as NTFS, I benchmarked it in that state before reformatting to ext4.
| Test | NTFS | ext4 |
|---|---|---|
| Sequential Read | 820 MB/s* | 729 MB/s |
| Sequential Write | 231 MB/s | 669 MB/s |
| Random 4K Write | ~2.3 MB/s | 103 MB/s |
NTFS sequential read was partially served from OS cache due to FUSE limitations and thus it is not a reliable number. Don’t think that NTFS is somehow better than ext4 😉
The NTFS write performance is inconsistent. Sequential writes drop to 231 MB/s and random 4K writes fall to around 2.3 MB/s.
Mind that this is not the DAS’s fault. Linux accesses NTFS through the ntfs-3g FUSE driver, which adds overhead, especially on small random writes. The raw device speed (hdparm on the block device directly, bypassing any filesystem) was virtually identical in both runs at around 764 MB/s, which confirms the ORICO hardware is not the bottleneck.
Real-World Transfers
I am not a fan of bechmarking tests. They do not capture how the device actually feels to use. So I ran two practical tests.
Copying a 5GB 4K video file to the DAS took just over 4.5 seconds.
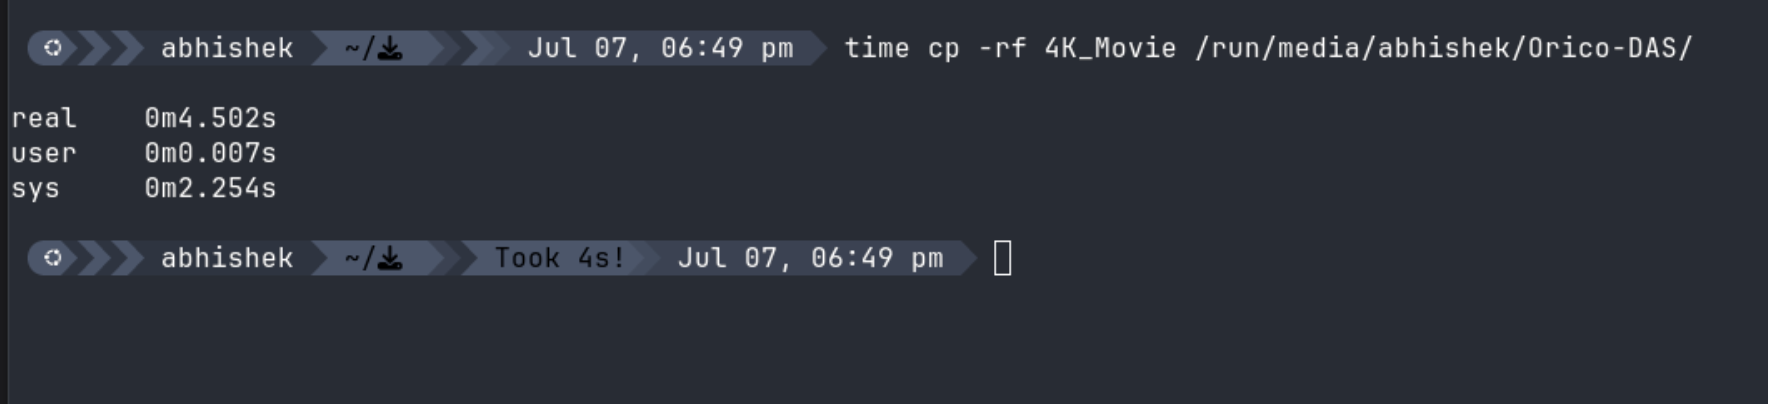
A folder with nearly 2,800 photos and videos totaling 10.2GB transferred in under 12 seconds.
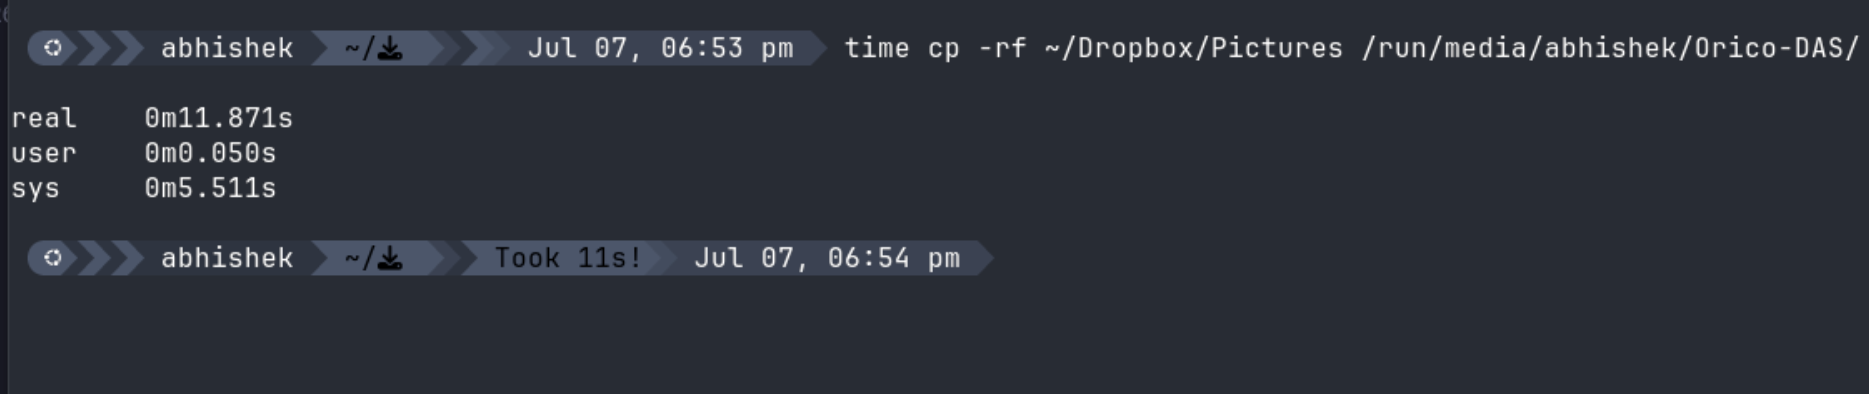
Note that Linux buffers writes in RAM before flushing to disk in the background, so these numbers reflect the immediate user experience rather than sustained disk throughput.
Things To Keep In Mind
The no-passthrough situation is probably the biggest practical limitation but only if you need to daisy chain multiple devices and only have few thunderbolt ports available on your system.
No RAID support is by design here, but something to keep in mind if you were hoping for redundancy.
Fan control would be a nice addition, perhaps? The device was silent in my use, but there is no software or hardware toggle to set a fan curve or force it off. Definitely not a dealbreaker, just something I noticed.
Another thing to note is that there is not enough space for a heatsink since the device has a compact size.
Also note that for $219 you are buying a diskless enclosure. Four decent NVMe drives to fill it will cost a lot more. That’s an obvious thing but I still would like to state that.
Who Is This For Really?
The primary userbase for something like this is video editors and creative professionals who are constantly moving large files.
If you are working with 4K or 8K footage across multiple projects, you’ll have TBs of data and your internal SSD would fill up fast. A 4-bay NVMe DAS sitting on your desk gives you that additional storage without the latency of a NAS. You plug it in and it just works like local storage, because over Thunderbolt 4, it effectively is.
It is also a good fit for you if you already have a handful of spare NVMe drives sitting around from previous hardware upgrades. Instead of those drives collecting dust in a drawer, you slot them in here and have a fast, compact multi-terabyte storage pool at your desk.
That said, this is not for everyone. If you just need an extra 1 or 2TB of portable storage, a simple USB-C external SSD will do the job at a fraction of the cost and with far less desk space and will also be portable. A dedicated 4-bay DAS only makes sense when you need the multi-bay capacity.
Some NAS devices offer a feature called direct attach, where you plug the NAS directly into your computer over Thunderbolt and use it as local storage rather than over the network. ZimaCube highlights this as a use case.
The difference here is that a NAS with decent specs will cost you significantly more than this DAS. If all you need is fast desk-side storage without the NAS software stack and network overhead, the ORICO DAS is a simpler and cheaper solution.
Conclusion
As a Linux user, the experience was better than I expected. No driver issues, no special configuration needed.
The drive showed up as native NVMe devices and behaved like internal storage. Format to ext4 and you get fast sustained speeds in both directions.
Do evaluate your needs and if it fits, you can get it from its official website or order it on Amazon:

This article first appeared on Read More